You might have the perfect skincare routine and high-quality makeup products, but if your brushes and beauty tools aren’t clean, they could be silently sabotaging your skin.
Dirty brushes collect bacteria, old makeup, oil, and dead skin cells. Over time, this buildup can cause:
- Breakouts and clogged pores
- Skin irritation
- Infections (especially near the eyes)
- Poor makeup application
The solution? Regular, proper cleaning. In this guide, you’ll learn how to clean your makeup brushes and tools step-by-step, plus how often to clean each type.
Why Cleaning Your Tools Matters
Unwashed tools can:
- Transfer bacteria to your face
- Worsen acne or trigger breakouts
- Damage your skin barrier
- Shorten the life of your brushes and sponges
Keeping your tools clean ensures better hygiene, smoother makeup, and healthier skin.
How Often Should You Clean Them?
| Tool Type | Recommended Cleaning Frequency |
|---|---|
| Foundation/Concealer Brushes | After every 1–3 uses |
| Powder/Blush Brushes | Once a week |
| Eyeshadow Brushes | Every few uses (or weekly) |
| Beauty Sponges/Blenders | After every use (ideally), or 2–3x/week |
| Tweezers, Lash Curlers | Wipe weekly with alcohol |
What You’ll Need
You don’t need fancy brush cleansers. Most of the time, you can use items you already have at home.
Basic supplies:
- Gentle baby shampoo or unscented liquid soap
- Olive oil or coconut oil (optional, for deep cleaning)
- A small bowl or your palm
- A clean towel
- Rubbing alcohol (for metal tools)
- Lukewarm water
How to Clean Makeup Brushes (Step-by-Step)
Step 1: Rinse the Bristles
Hold the brush bristles under lukewarm running water, pointing downward. Avoid getting water on the handle, as it can loosen the glue over time.
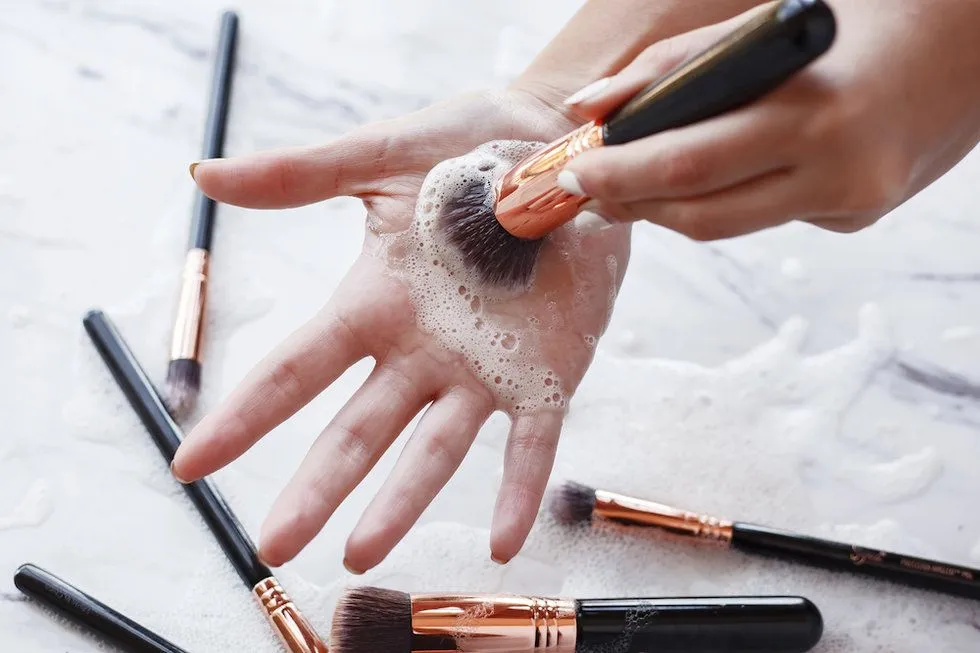
Step 2: Lather with Cleanser
Put a few drops of baby shampoo (or gentle soap) in your palm or a bowl. Swirl the brush into the soap and add a drop of olive oil if the brush is extra dirty.
Step 3: Massage and Rinse
Gently massage the bristles in your hand or on a silicone cleaning mat. Rinse thoroughly until the water runs clear.
Step 4: Squeeze Out Excess Water
Use your fingers or a towel to gently squeeze out the extra water. Avoid pulling on the bristles.
Step 5: Reshape and Dry Flat
Lay your brushes flat on a clean towel, with the bristles hanging off the edge of a counter to air-dry completely. Never dry them upright—water can seep into the base and cause damage.
How to Clean Beauty Sponges
- Wet the sponge with warm water
- Apply a few drops of gentle soap
- Squeeze and release the sponge repeatedly
- Rinse thoroughly until water runs clear
- Let it air dry in a clean, open space (not sealed in a drawer)
Tip: Replace your sponge every 1–2 months for hygiene.
How to Sanitize Metal Tools
- Use a cotton pad with rubbing alcohol to wipe down tweezers, lash curlers, and scissors
- Let them air dry before storing
Extra Tips
- Don’t soak the whole brush in water—this can weaken the glue at the base of the bristles
- Avoid hot water, which can damage synthetic fibers
- Don’t use hair dryers or heaters to speed up drying
- Store brushes in an upright container once fully dry
DIY Brush Cleaner Recipe
If you want a quick, natural cleaning mix:
Ingredients:
- 1 tablespoon olive oil
- 1 tablespoon gentle dish soap
- 1 cup warm water
Instructions:
- Mix in a bowl
- Dip brushes and swirl
- Rinse thoroughly and dry
Final Thought: Clean Tools, Clear Skin
Cleaning your brushes and tools may feel like a chore, but it’s one of the easiest ways to protect your skin and improve your makeup routine. Just like you wouldn’t reuse dirty dishes, don’t reuse dirty brushes on your face.
Make it a weekly ritual—your skin will thank you with fewer breakouts, better product performance, and a smoother, healthier glow.